

Most people who have done road construction have encountered this problem:The design drawings are ready, but when you get to the construction site, you find the soil is unsuitable.High plasticity index, soil too wet, too soft. Generally speaking, you need to dig out this soil, haul it away, and then buy good soil or crushed stone from outside to continue construction. Costs increase, and the schedule is extended.The above approach is what everyone commonly uses.
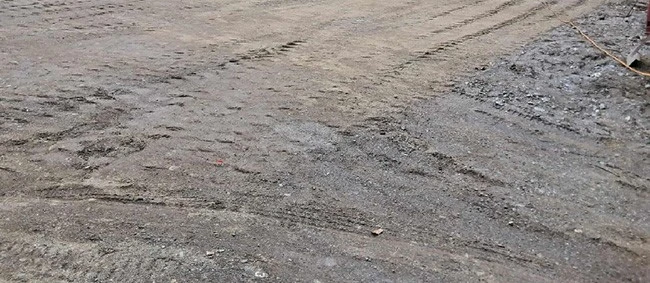
Has anyone thought about this - can all locations with poor soil only use this method?Can we not replace the soil?
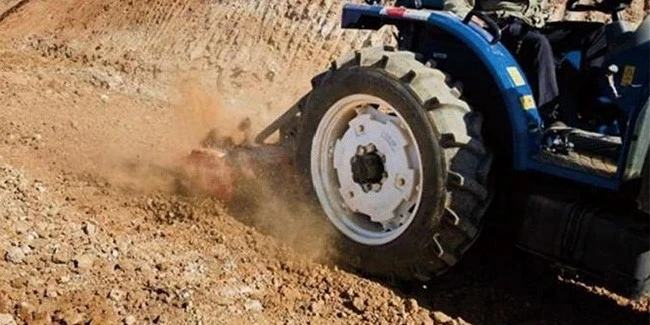
Soil stabilizers offer more options - do not replace soil unless absolutely necessary.No need to purchase crushed stone externally, no need to haul away spoil, no need for extensive excavation and filling. The equipment is conventional graders, road mixers, and rollers - all commonly used construction machinery.
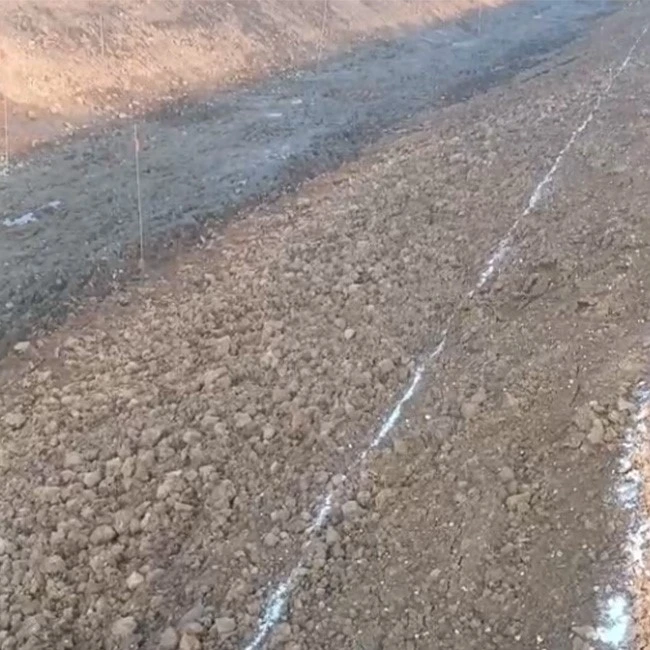
Of course, stabilizers are not omnipotent. Their role is to improve soil performance, not to change the soil type.
Before using soil stabilizers, you need to have a basic judgment about the on-site soil.
How to judge whether your soil can be used. No professional testing is needed. The following methods can be done on site.
Step 1: Check the soil type
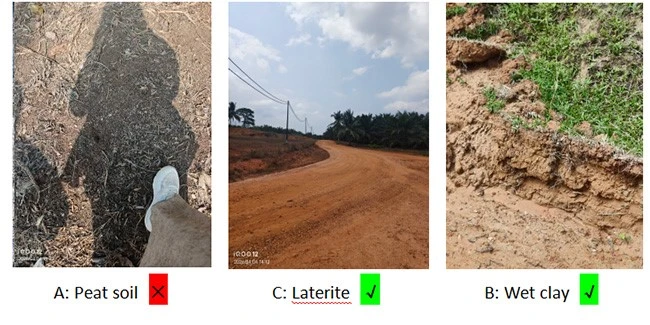
The following soils can all be used:Dregs, loess, red soil; Gravelly soil, gravel soil
The following types are not recommended:Soil with high organic content (black cotton soil, humus soil, soil that smells odorous/foul); Garbage soil, pure silt, pure sand
Step 2: Simple test of soil moisture content
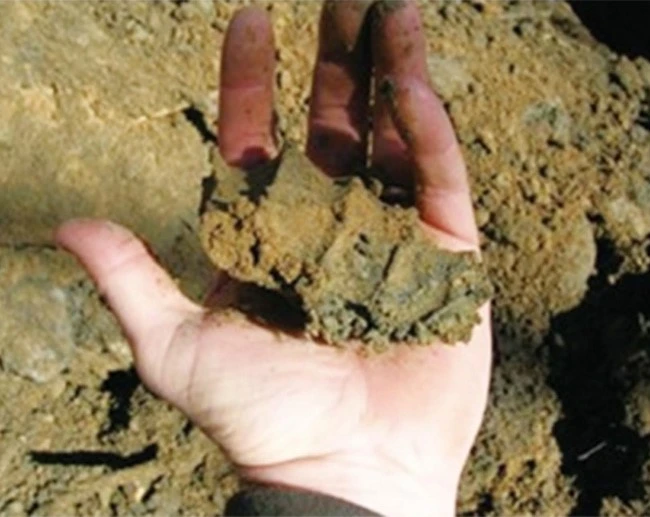
Grab a handful of soil from the construction site and hold it in your hand to see the result:
Can be squeezed into a ball, does not stick to the hand, and falls apart immediately after free fall - suitable, can directly use the stabilizer
After squeezing in the hand, sticks to the hand, forms a ball, and water seeps out - too wet, need to spread it out to dry, then adjust the stabilizer's water mixing ratio
Cannot be squeezed into a ball, soil does not aggregate - too dry, need to adjust the stabilizer's water mixing ratio
Last step: Check soil impurities
Spread the soil out and observe:Crushed stone and sand particles with diameter not exceeding 3cm and content less than 30% - normal use
With grass roots and tree bark, or any animal or plant related organic matter - need to sieve the soil before use
After completing the above three steps, most soil conditions can be judged.
If there are still doubts, first do a trial road section - this is the most reliable.
Several common questions
Q: What soil can be used and what soil cannot be used? Most common soil types can be used.
High organic matter, garbage soil, and pure silt cannot. Use the three-step method above to judge by yourself.
Q: To what extent can the effect reach? Compaction degree, CBR value, and unconfined compressive strength can all meet design specification requirements. How much can be achieved depends on the soil itself and construction quality.
If operations are done properly, there is no problem.
Q: Are special equipment needed? No need. Conventional equipment such as road mixers, water trucks, and rollers are sufficient.
Q: Is the material safe?
Non-toxic and harmless, safe for people and the environment.There are also two important thingsDo a trial section first. This was already said earlier, but it is worth saying again. No matter how confident you are in the preliminary judgment, you must do a trial section first. This is the lowest-cost verification method and the only way to avoid large-scale rework.
Pay attention to moisture content, mixing uniformity, and compaction degree. If these two are done well, the effect is guaranteed. During construction, check several more times and compact several more times, which can effectively avoid later pavement problems.
Now
You can first make an assessment based on the on-site conditions. If you have any questions, please contact us. We can give suggestions and solutions based on your specific situation.